
Overview of the ZeroLock Management Console Reports Homepage.
Overview
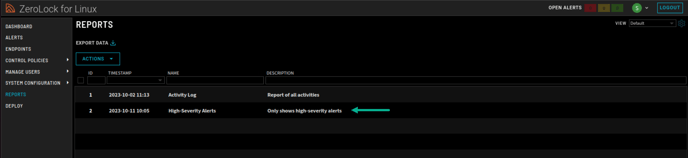
The Reports homepage is where the administrator can create and delete reports as well as reconfigure the layout, or view, of the columns on the screen.

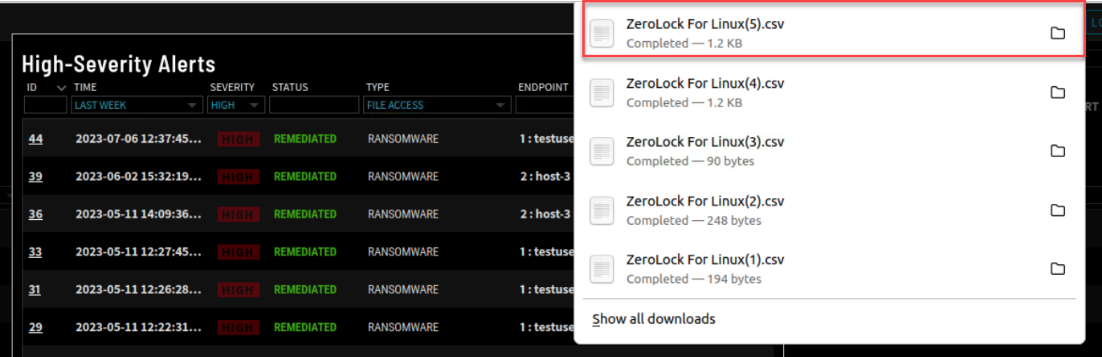
- EXPORT DATA
 - Allows downloading all the information on your screen in CSV format. Clicking either will download all the information on your screen in CSV format.
- If you wish to see only select files, hover the cursor to the left of the file number and select the box that appears.
- Repeat this process until you have selected the files you want then use either download option.
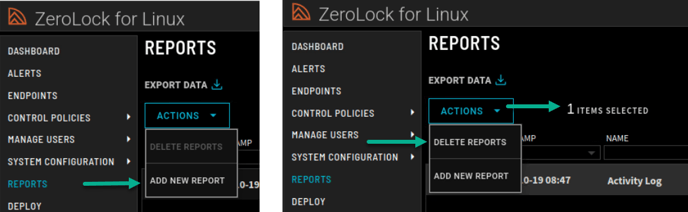
- Actions - Select this button when you want to create or delete a report.
- Column Headings - The column headings are mostly self-explanatory. IDs and Timestamps are system generated. Name and Description should be easily understood for future reference.
- Existing reports - Lists the reports that currently exist in the environment.
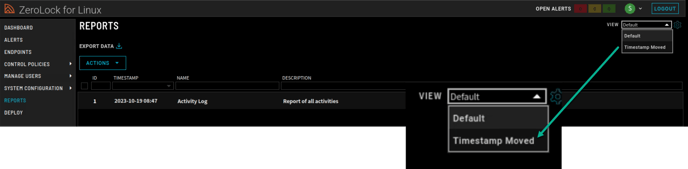
- View - Provides a drop down listing of the screen configurations, i.e., layouts or views, that are available. Initially, the only option in the VIEW drop-down list is Default, as there is only one view/layout. Once other layouts are created, they will appear on the list as well.
- Edit - Selecting the cog or gear symbol
 brings up the Edit View pop-up screen. This screen enables changing of the layout (view) of the columns such as moving columns or even hiding columns altogether. The different views you create may be saved under their own name for easy access from the VIEW tab.
When the Edit View screen first appears, the only option is Save A Copy. Once you select any column, Modified, Reset, and Save As will replace it.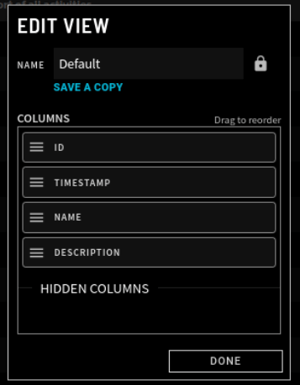
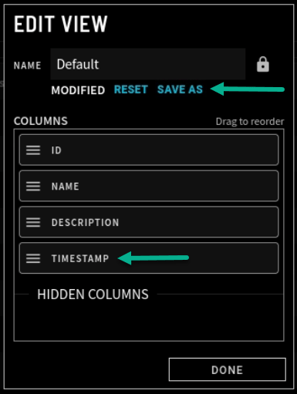
- Modified – is static and only shows that the ‘original’ layout (view) has been changed. The label goes away when it’s saved.
- Reset – erases your changes, returning the profile back to its original configuration.
- Save As – allows you to name and save the view you created.
For example, to create a view with the Timestamp column moved to the end, bring up the Edit View and drag the Timestamp column to the bottom of the list. When you do this Save A Copy is replaced by the options mentioned above.
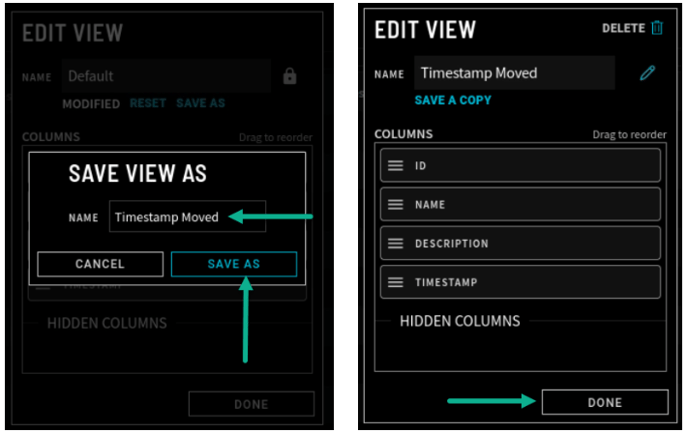
To save the new view you’ve created, select Save As which brings up the Save View As screen. Enter a name for the new view and select Save As, which returns you to the Edit View page. Click Done and you have just created a new report view.
On the Reports homepage, the view just created is available for selection.
Adding a Report
Selecting Add New Report from the Actions drop-down menu opens the Add New Report screen.
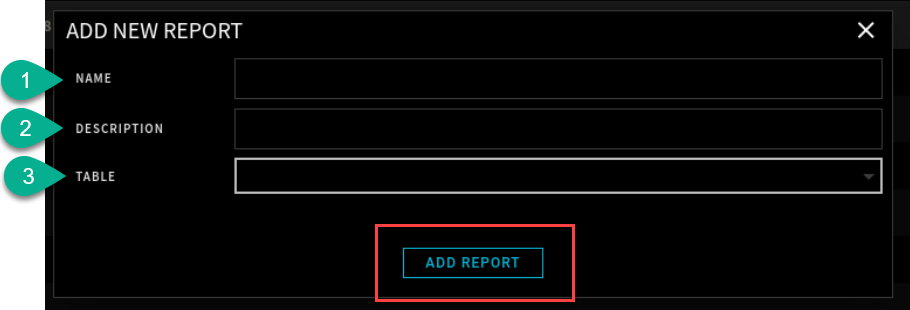
- Name – the name you have given the report.
- Description – A description of the report.
- Table – from the drop-down in this field you have a number of choices.
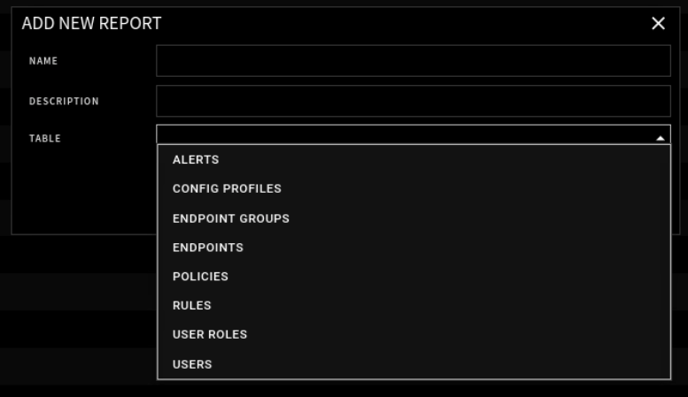
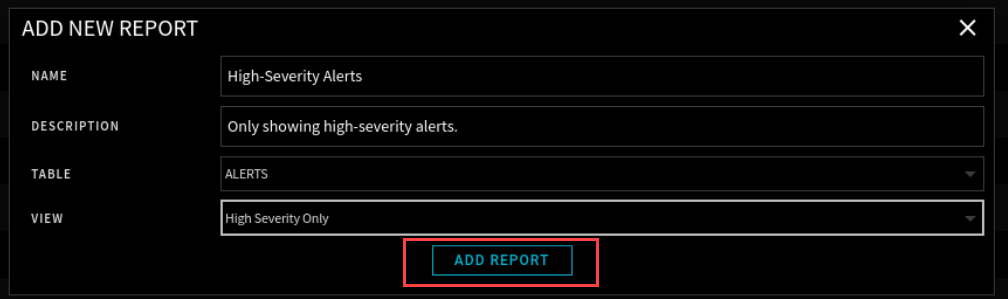
Once a selection is made from the list, a View field will appear. The views that are available depend on the view configurations on the corresponding homepage. For example, selecting the Alerts table gives me the option All or High Severity Only which is the same view options on the Alerts homepage. If I instead chose Endpoint Groups, my view options are those on that homepage.
Once you’ve made the view selection, you’re returned to the Add New Report screen where selecting the Add Report button creates the report.
View Report Output
On clicking the Add Report button you are taken to the Reports homepage where you see the report has been added.
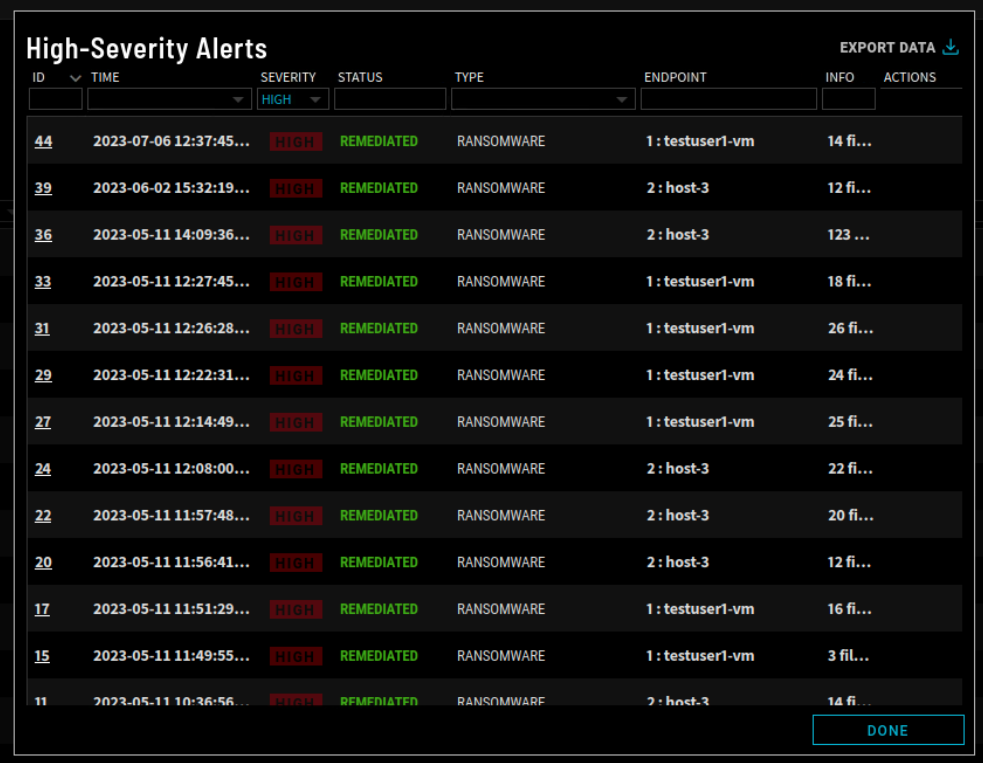
Double-clicking on the report name generates the report.
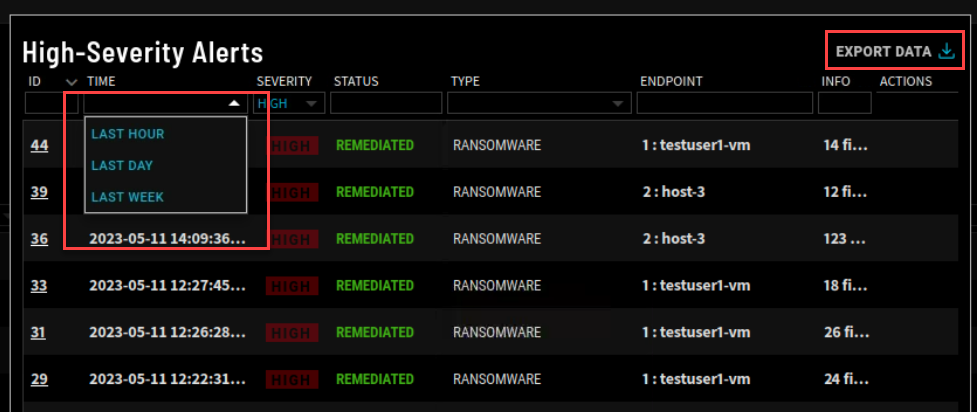
Reports have the ability to be filtered. An arrow indicates that the information presented in that column may be filtered. For example, selecting the drop down in the TIME column shows the display options of Last Hour, Last Day, or Last Week.
Export Report Data
Once you have set your filters select EXPORT DATA or![]() then select your report.
then select your report.
Opening your report gives a view similar to the following.

For more information, please see the Vali Cyber support page.