ZeroLock® Management Console Startup_v4.1.x
How-to Start the ZeroLock Management Console
Upon completing the ZeroLock® Management Console (ZMC) installation, the next step is the ZMC startup. The following will take you through that process.
Starting Service Container
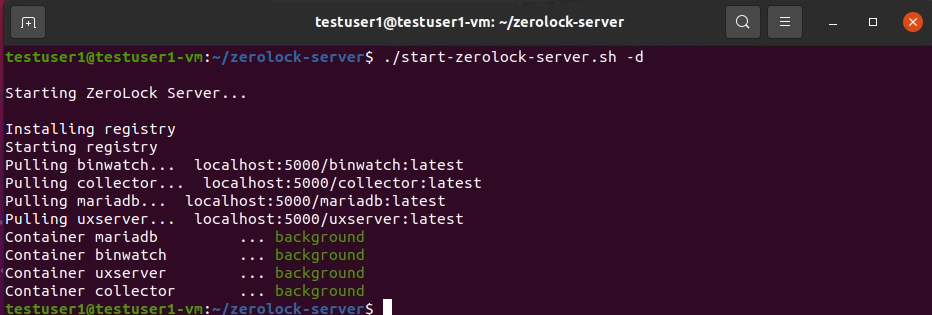
To start the service containers, enter the following command:
Change to the installation folder: ~/zerolock-server
./start-zerolock-server.sh -d
(-d has the services run as a daemon.)

Container Status Check
To check the status of the containers: docker ps.
Type exit to end the terminal session.

Note: Five containers should be running (collector, uxserver, binwatch, mariadb, and registry).
Stopping Containers
Change to the installation folder: ~/zerolock-server
./shutdown-backend.sh

Server Logs
Server logs are located: ~/zerolock-server/logs
- collector.txt = endpoint connection and threat information.
- uxserver.txt = ZeroLock Management Console connection and information.

Test ZeroLock Management Console Connectivity
Navigate to the following URL
https://{ServerIP Address}:7443
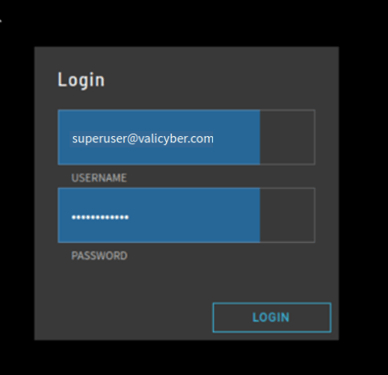
Enter the default credentials
- User: superuser@valicyber.com
- Password: S3cureLinux! (You will be forced to change on initial login)

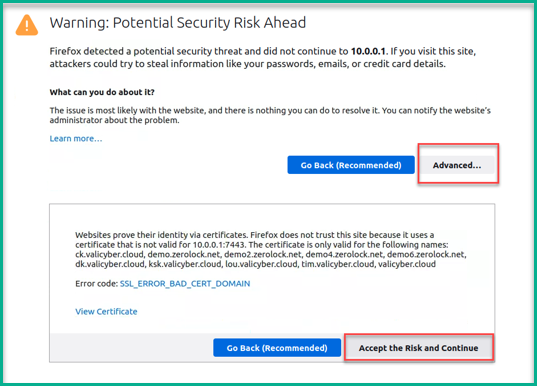
NOTE: We are currently using a self-signed Certificate. You must click Advanced, then Accept the Risk and Continue to use the ZeroLock Management Console.

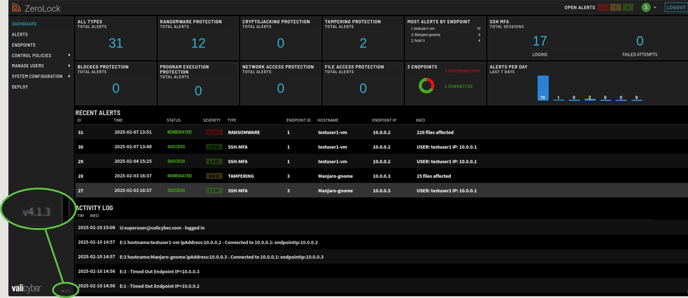
Verify ZeroLock Version
Once logged into the ZeroLock Management Console, you can verify the ZeroLock version at the bottom of any primary console screen.

For more information, please see the Vali Cyber Support page.